


Low in stock, only 6 left
Price: CA$14.00
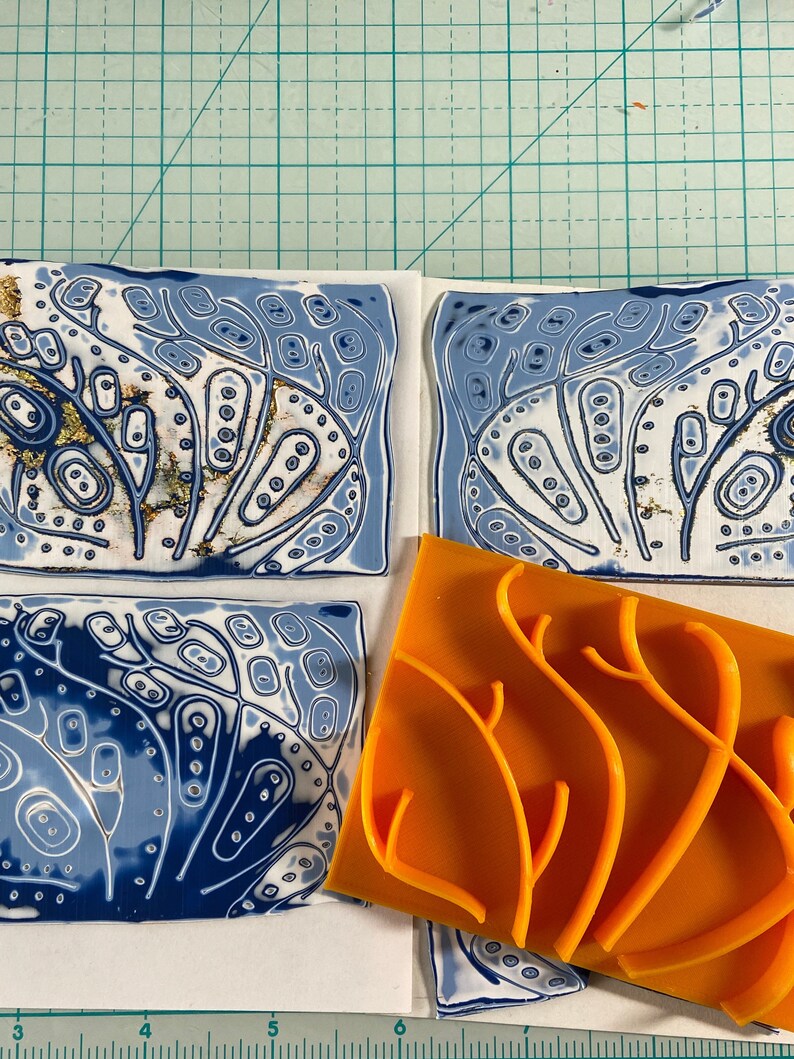
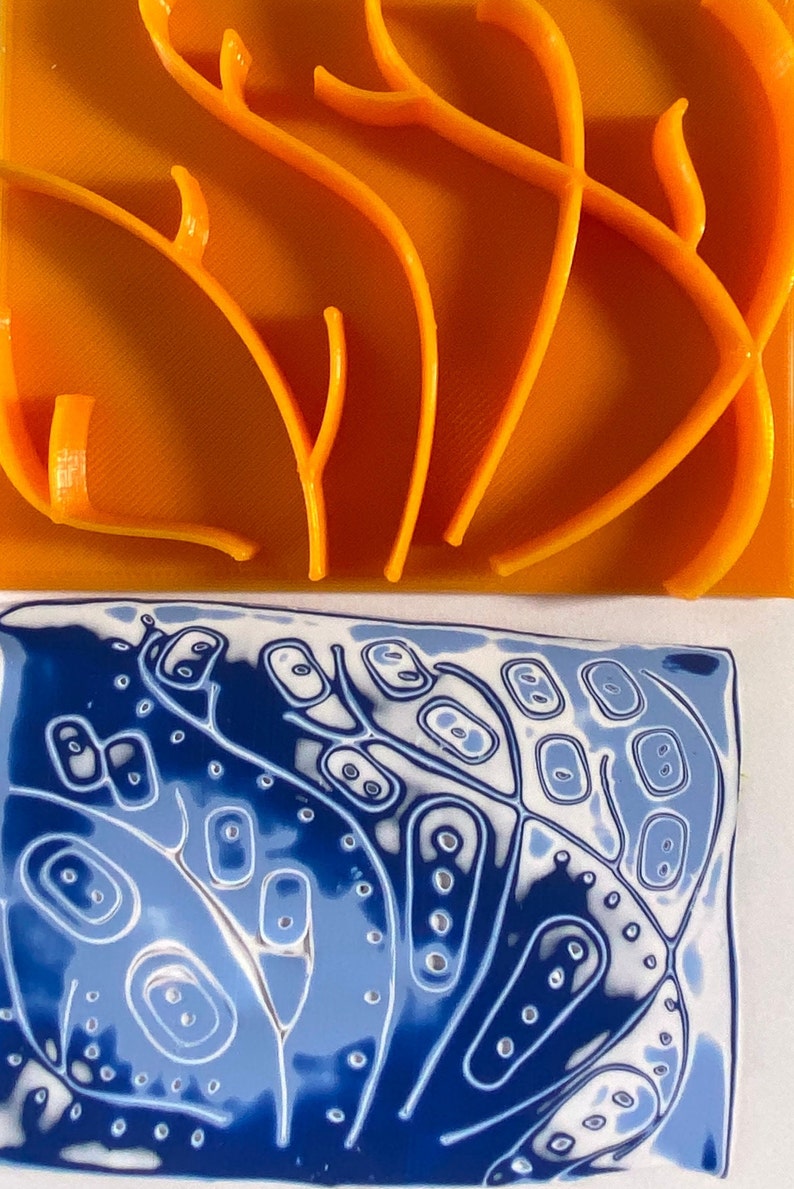
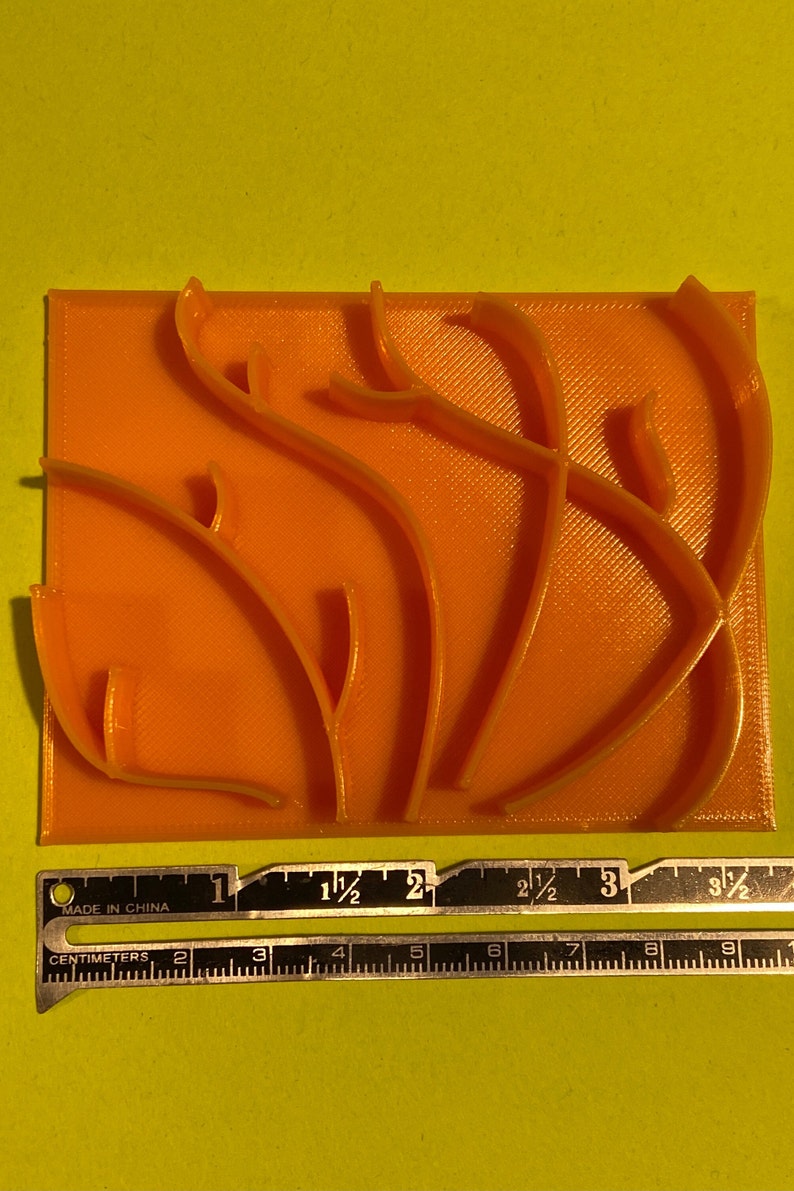
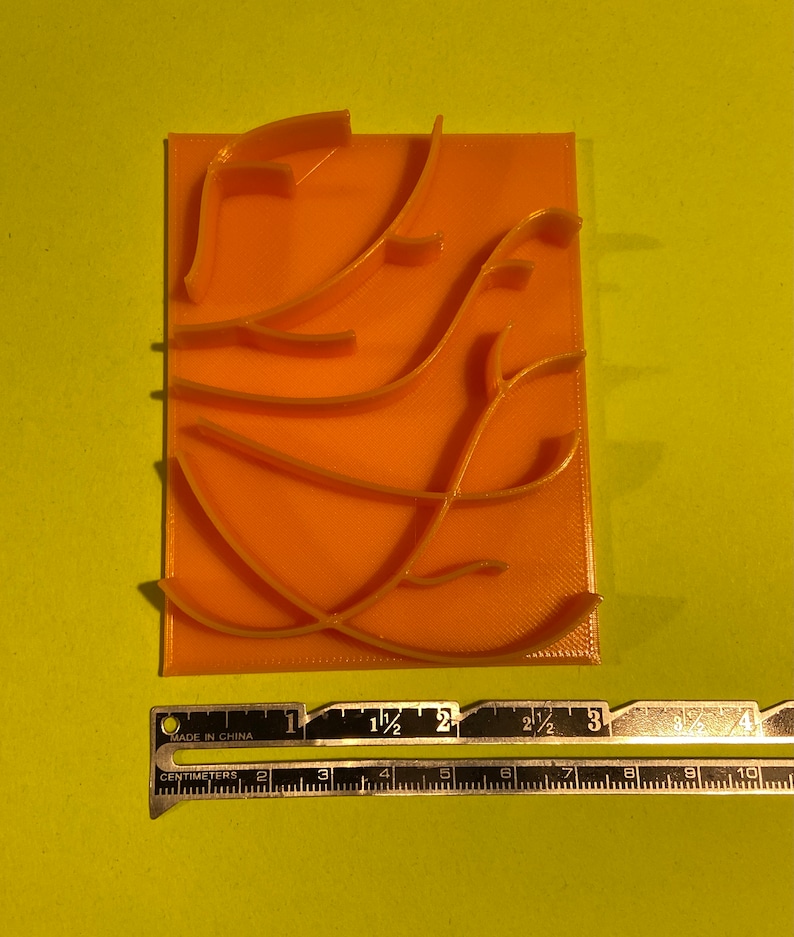
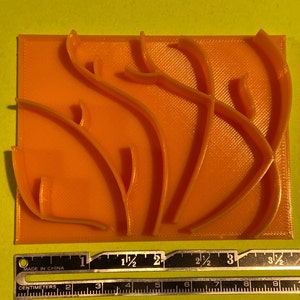
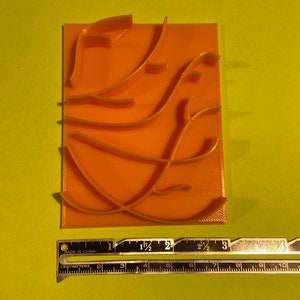
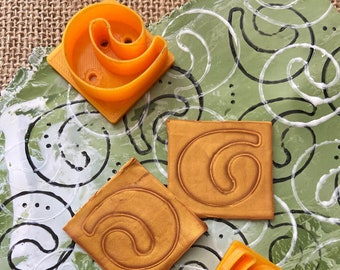
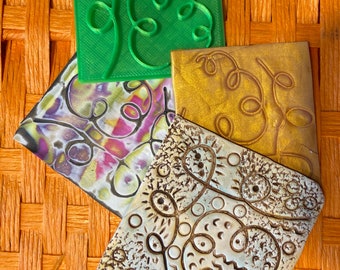
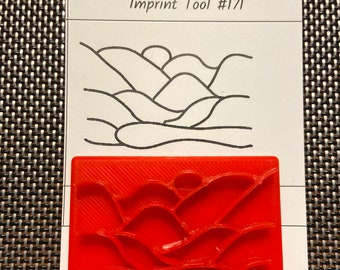
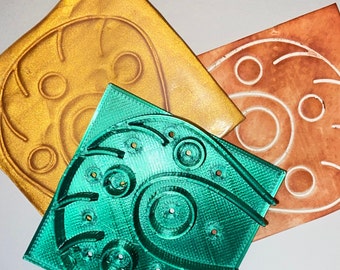
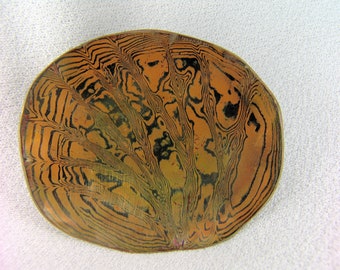
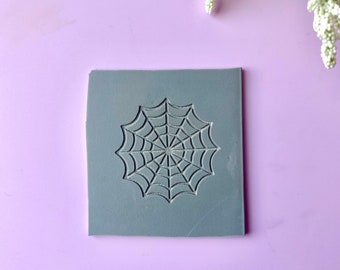
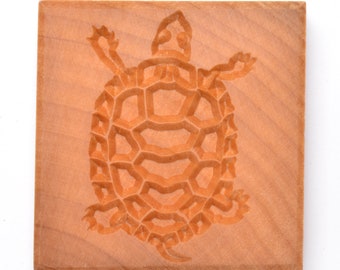
Imprint Tool 3-D Stamp Polymer Clay MokumeGane Texture Liquid Clay MicaShift Pattern Pottery Soap Making (134)
Canada-based shop
You’re supporting a shop close to home with your purchase.
Your order should arrive by this date if you buy today. To calculate an estimated delivery date you can count on, we look at things like the carrier's latest transit times, the seller's processing time and dispatch history, and where the order is dispatched from and delivered to.
You can only make an offer when buying a single item.
-
Order today to get by 06-09 May
Your order should arrive by this date if you buy today. To calculate an estimated delivery date you can count on, we look at things like the carrier's latest transit times, the seller's processing time and dispatch history, and where the order is dispatched from and delivered to.
-
Returns & exchanges not accepted
But please contact me if you have problems with your order
-
Delivery cost: CA$10.00
There was a problem calculating your postage. Please try again.
Etsy Purchase Protection: Shop confidently on Etsy knowing if something goes wrong with an order, we've got your back for all eligible purchases — see programme terms

181 reviews
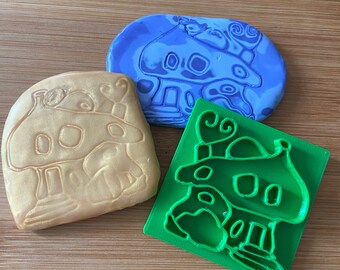
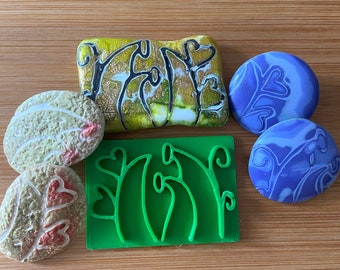
5 out of 5 starsGreat impression stamp I and my PC friends love them. So many ways to use them, Mokume Gane, as stamps to apply color etc. Gail does a great job creating them.

Paulette Mazurek 11 Aug, 2023
I love these imprint tools. Will buy all she makes. Best I have used.

Debra 17 Jan, 2022
Photos from reviews
More from this shop

Disclaimer: Etsy assumes no responsibility for the accuracy, labelling, or content of sellers' listings and products. Electrical or electronic products may pose a risk of fire or electrocution. Vintage, handmade, refurbished, or modified electrical or electronic products may not meet current safety standards and may not be in safe working order. Inspect carefully before use and message the seller if you have concerns relating to the product. Do not use a vintage electrical or electronic item if its safety can't be verified. To reduce the risk of fire, never leave vintage electrical or electronic products plugged in unattended. See Etsy's Terms of Use for more information.