


Price: $4.15
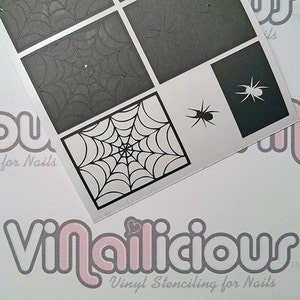
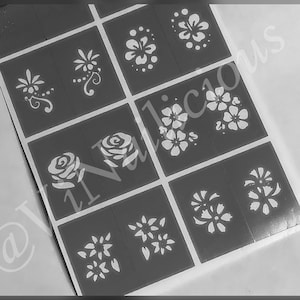
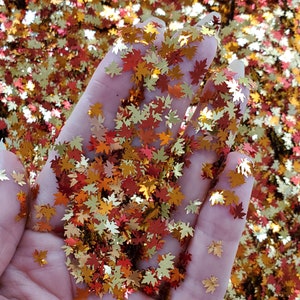
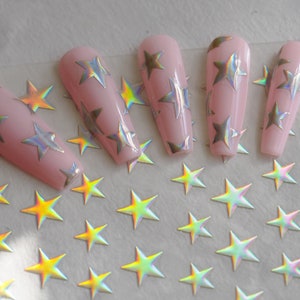
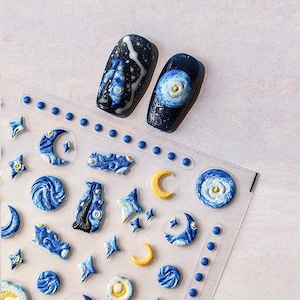
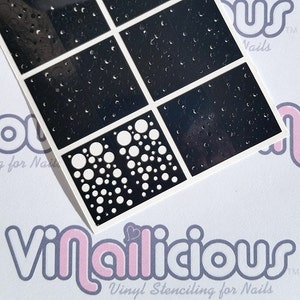
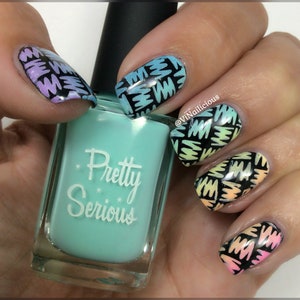
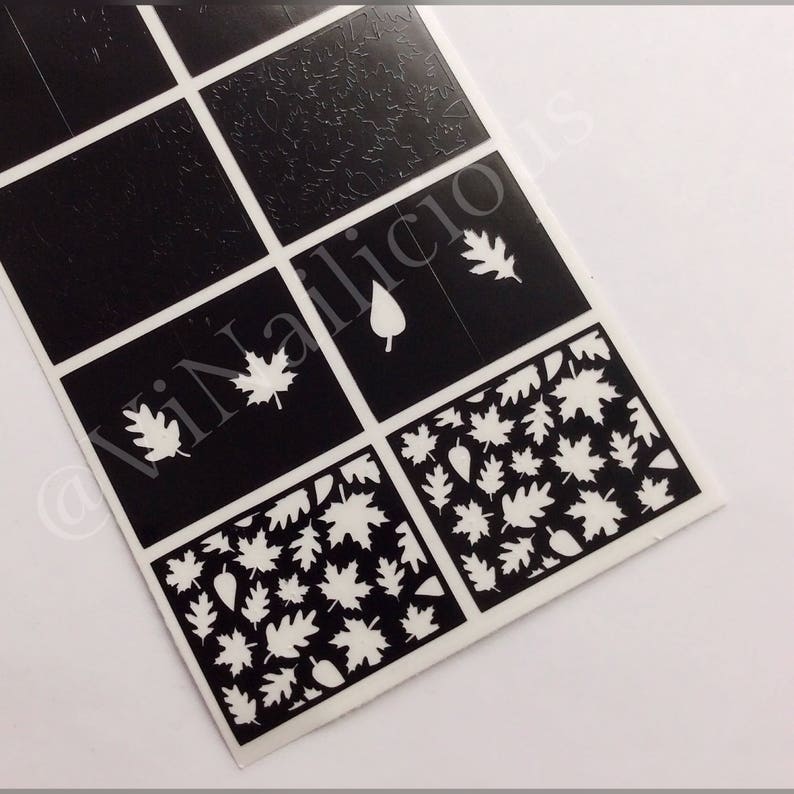
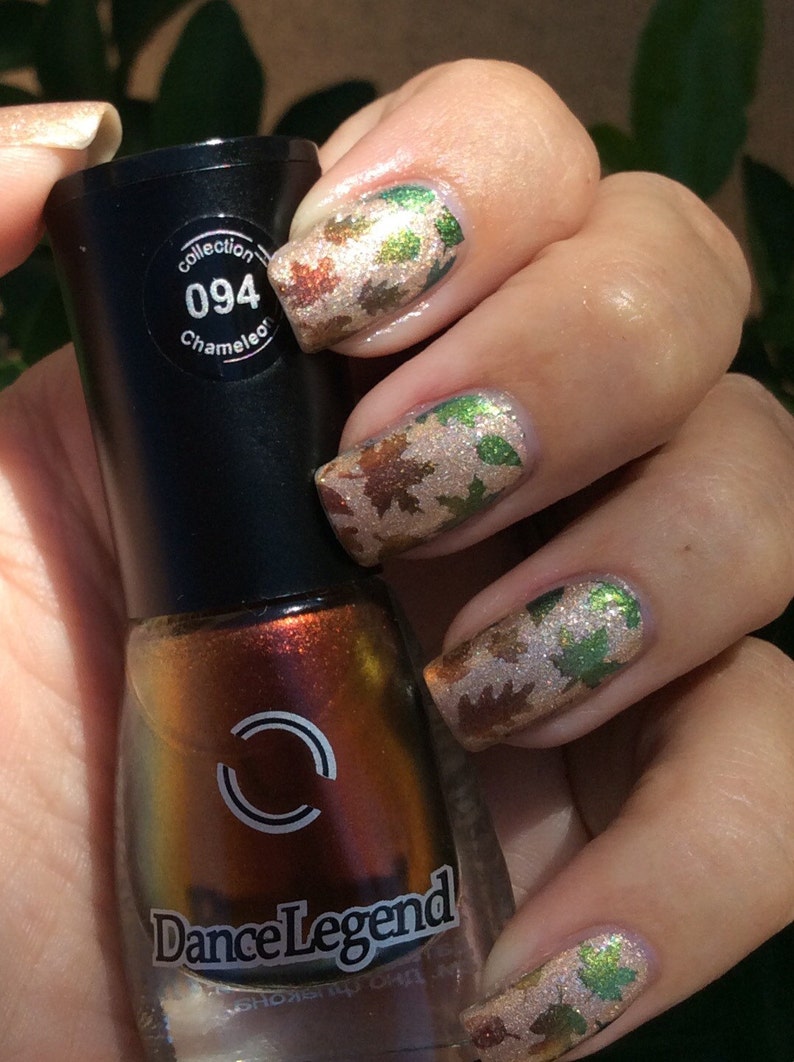
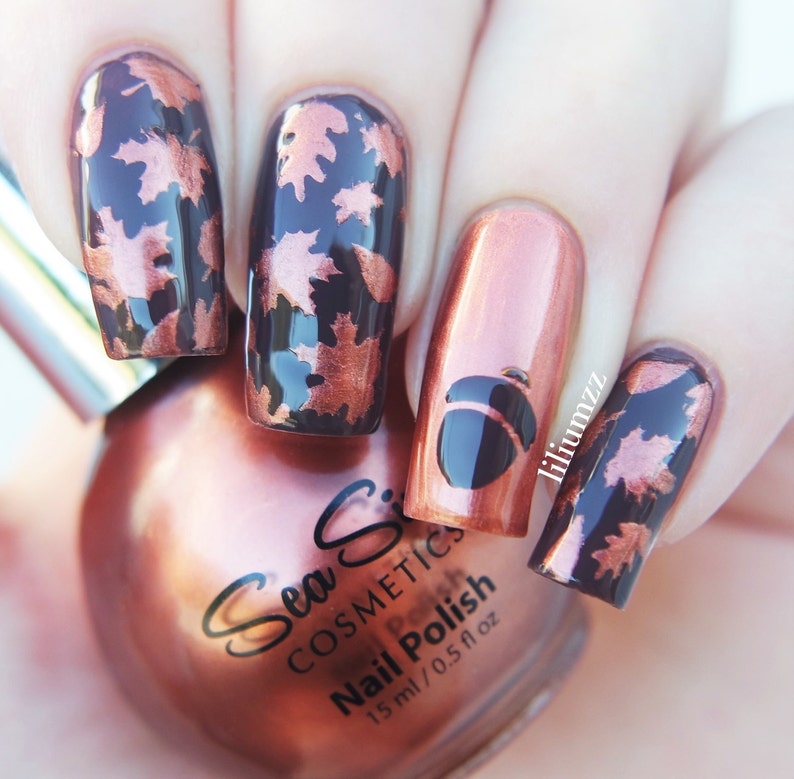
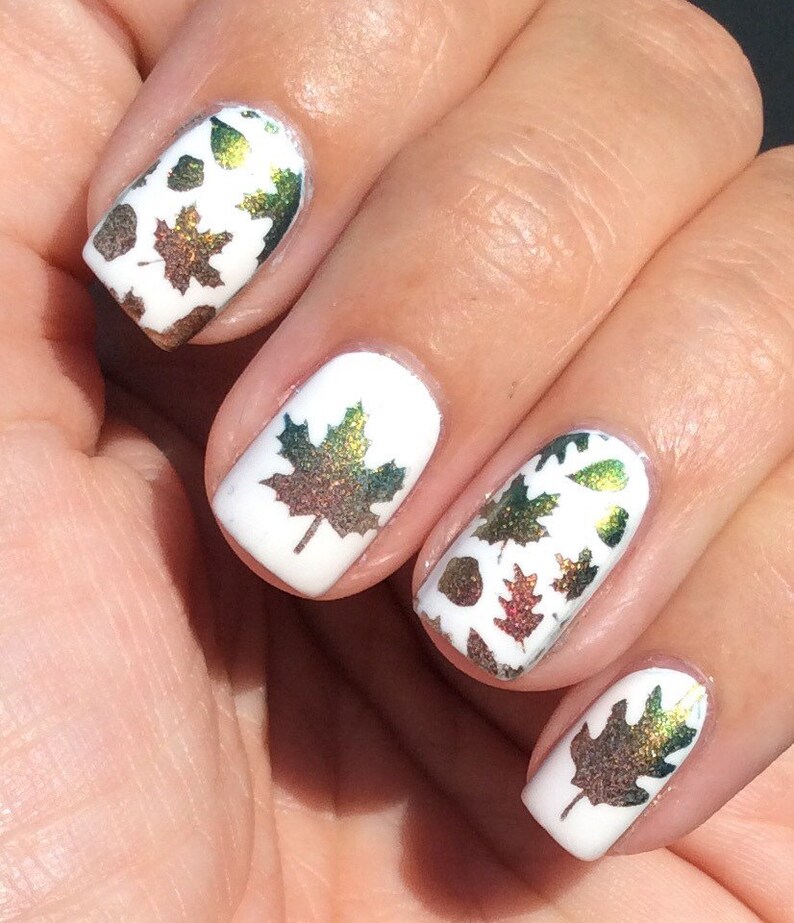
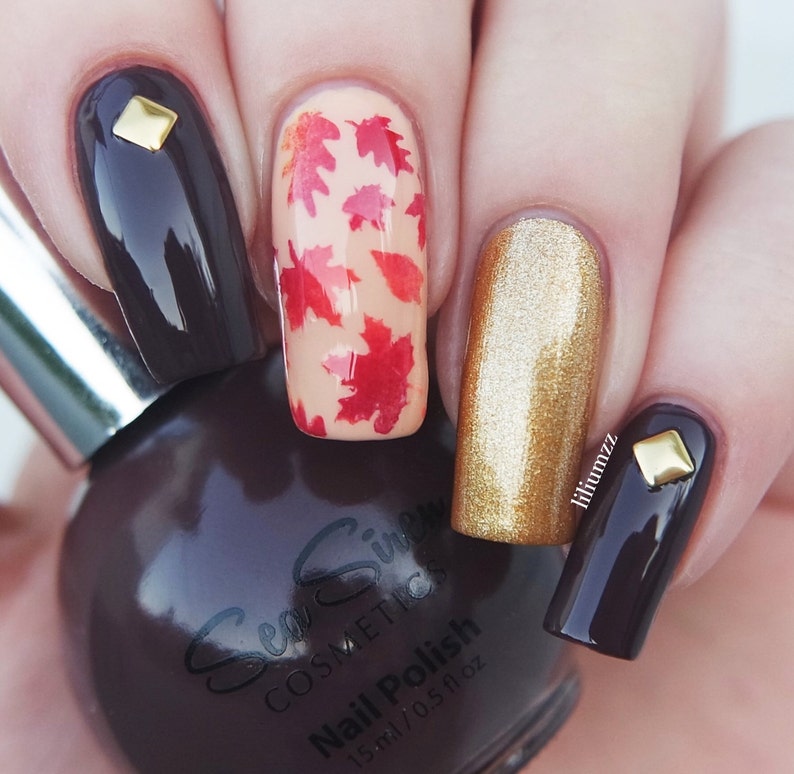
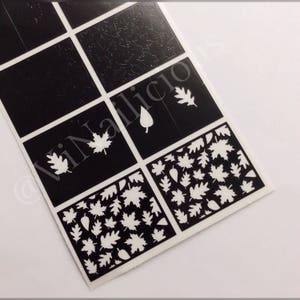
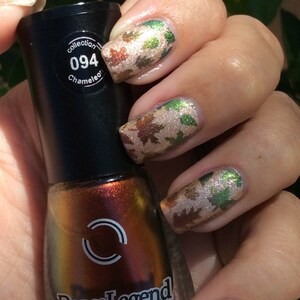
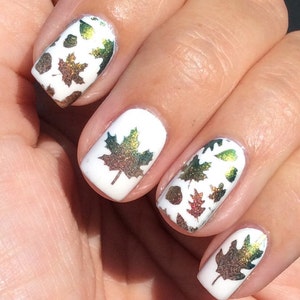
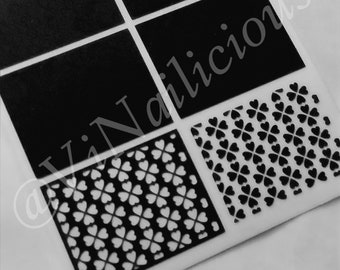
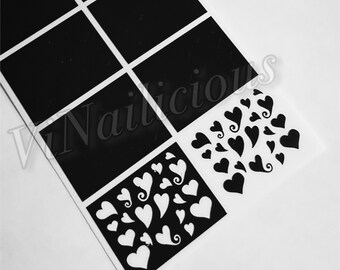
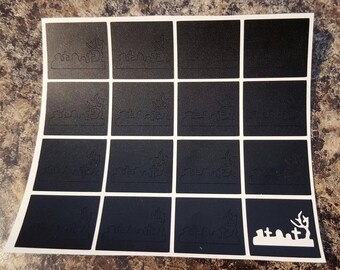
Autumn Leaves nail stencils
Your order should arrive by this date if you buy today. To calculate an estimated delivery date you can count on, we look at things like the carrier's latest transit times, the seller's processing time and shipping history, and where the order is shipping to and from.
You can only make an offer when buying a single item
-
Order today to get by Apr 30-May 8
Your order should arrive by this date if you buy today. To calculate an estimated delivery date you can count on, we look at things like the carrier's latest transit times, the seller's processing time and shipping history, and where the order is shipping to and from.
-
Returns & exchanges not accepted
But please contact me if you have problems with your order
-
Cost to ship: $1.00
There was a problem calculating your shipping. Please try again.
Etsy Purchase Protection: Shop confidently on Etsy knowing if something goes wrong with an order, we've got your back for all eligible purchases — see program terms

Captcha failed to load. Try using a different browser or disabling ad blockers.
Related searches


1,826 reviews
5 out of 5 starsFabulous! I absolutely love the stencils, which really make the most beautifully defined leaves. Thank you!

Christina Caicedo Apr 17, 2024
Love it. The instructions are clear.
Eldhav Jan 26, 2024
These create really cute designs! It takes some practice to get it right but I love the look I was able to create with this vinyl.

Frances C Nov 11, 2022
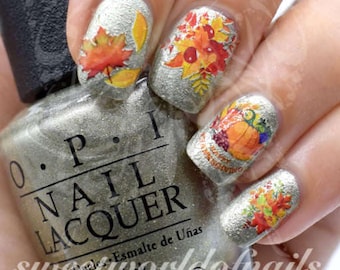
Photos from reviews
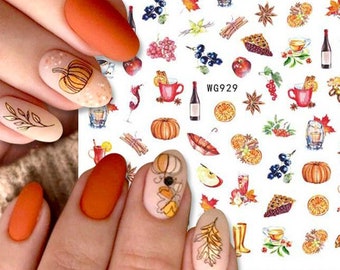
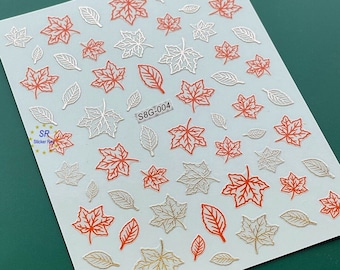
More from this shop


Disclaimer: Sellers are responsible for following applicable laws and regulations, including properly labeling and disclosing the ingredients of their cosmetics and personal care products, as applicable. Etsy assumes no responsibility for the accuracy or contents of seller's labeling or listing. Always read labels, warnings, directions and other information provided with the product before using it. If you have any questions, or are concerned about potential allergens or other ingredients, message the seller. See Etsy's Terms of Use for more information.