


Price: $4.00
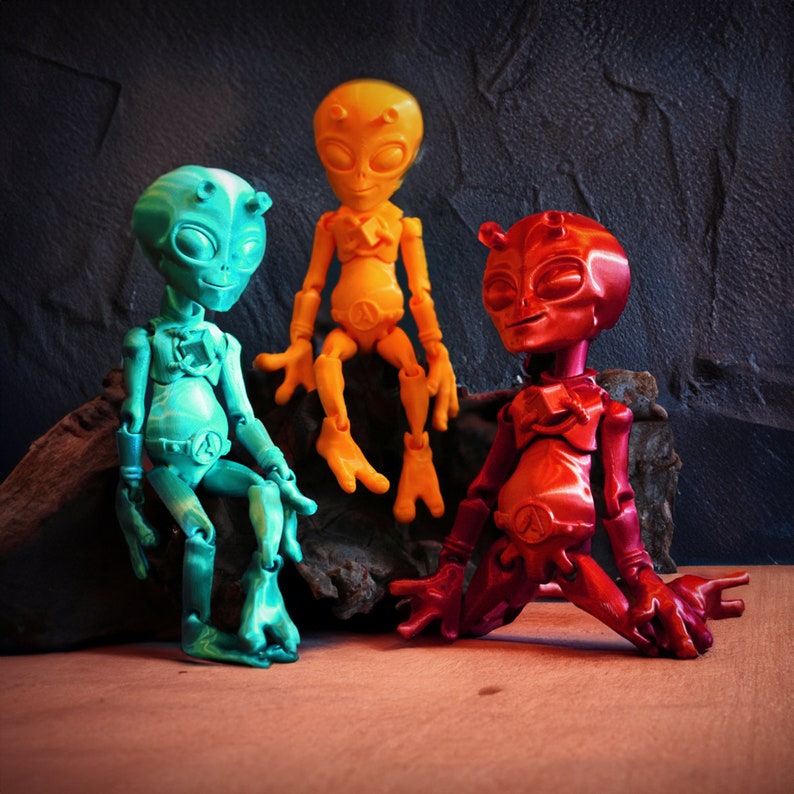
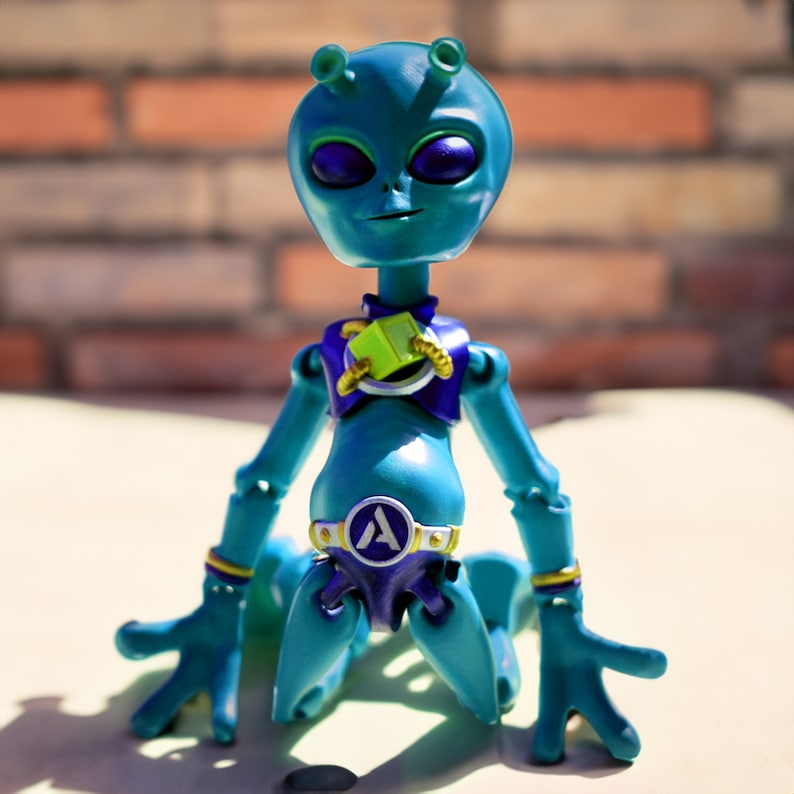
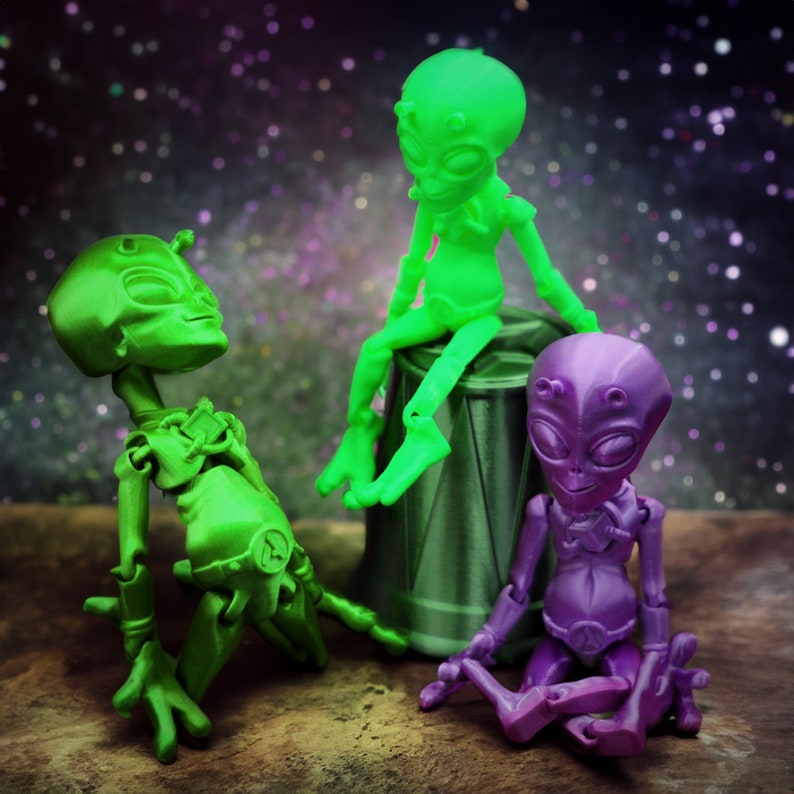
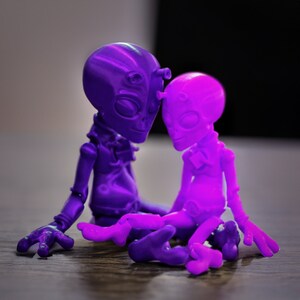
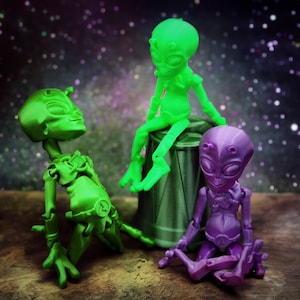
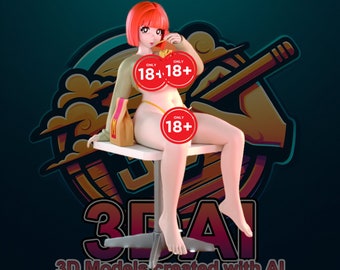
3D STL Alien Printing STL ,Suitable 3D Printing Filament
You can only make an offer when buying a single item
Instant Download
Your files will be available to download once payment is confirmed. Here's how.
Instant download items don’t accept returns, exchanges or cancellations. Please contact the seller about any problems with your order.
Etsy Purchase Protection: Shop confidently on Etsy knowing if something goes wrong with an order, we've got your back for all eligible purchases — see program terms


Other reviews from this shop
|
(44)
Awesome design. Printed 💯

Response from Mehmet Yılmaz
🙏🙏🙏🥰
Purchased item:
3D STL Alien Printing STL ,Suitable 3D Printing FilamentMelandie Kleinhans Mar 21, 2024
Great images, easy download. TY x
Response from Mehmet Yılmaz
✨️🙏💫❤️ thank you

Al Mar 16, 2024
Superfast, Great file, cannot wait for it to finish printing
Purchased item:
3D STL Panda Printing STL ,Suitable 3D Printing Filamentlorraine barnett Jan 31, 2024
Photos from reviews
More from this shop


Browse by section


Disclaimer: Etsy assumes no responsibility for the accuracy, labeling, or content of sellers' listings and products. Electrical or electronic products may pose a risk of fire or electrocution. Vintage, handmade, refurbished, or modified electrical or electronic products may not meet current safety standards and may not be in safe working order. Inspect carefully before use and message the seller if you have concerns relating to the product. Do not use a vintage electrical or electronic item if its safety cannot be verified. To reduce the risk of fire, never leave vintage electrical or electronic products plugged in unattended. See Etsy's Terms of Use for more information.